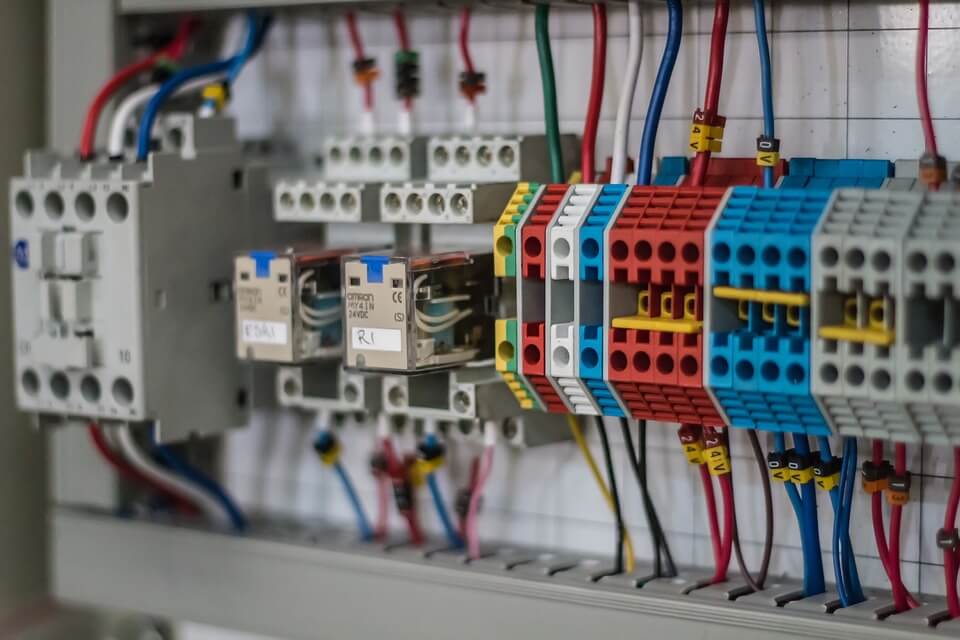
An electrical panel board or a distribution board is an electricity supply system’s component that divides the electric feed into circuits. Furthermore, it provides a circuit breaker for the circuits.
This is an impressive guide on how to install an electrical panel board. Thus read on to know more.
How to Install an Electrical Panel Board?
A distribution board that is designed for domestic insulation is most often referred to as a consumer unit. The branch distribution boards distribute the supply of sub-circuits. They come with fuses.
Each distribution board and the branch distortion board needs to have at least one spare subcircuit for future requirements. This subcircuit is of the same capacity. Also mark the fuse element’s size, circuit’s current rating and the details of the circuit that the discussion board controls. You will need to have the electrician tool kit to do this installation work.
Following steps are involved in installing the electrical distribution board.
- To begin with, install the feeder pipe.
- Next, start installing the connector into the panel.
- It is recommended to place a plastic bushing on the connector threads.
- Level the panel.
- Then insert screws in the holes on the panel back.
- Pull the feeder wires through the pipe using a tape.
- Leave enough wire so it can easily connect to the panel’s opposite side.
- Bend two black wires so that they can be used for installation in the main breaker.
- The excess bare wires are a great safety hazard as they can cause a short circuit on coming in contact with other wires.
- Connect the neutral wire to the silvered colored neutral bus present on the sides of the breaker. This neutral bus has small screws and connection points.
- Connect all the bare copper wires and green wires to the ground bus bar.
- Bending wires will give you a neat and uniform wire installation.
- Then you need to install the circuits to the circuit breakers of the branch.
- Connect the appropriate wire to the breaker.
- Bending the wires will give you a neat appearance on the completion of the installation.
Have a Look at the Best Mechanic Tools Set Buyer’s Guide
Tips On How to Install an Electrical Panel Board
There is an iron-clad main switched that is installed on the mainboard. It is recommended to install the mainboard nearer the service board and also nearer to the supplies components.
The height from the ground level should be 1.5 meters.
Check all the joints of the board. Conceal the main switchboard having the relevant circuit breakers in the wall thickness in flush with the wall surface.
The mainboard and the energy meter board are close to each other. The box in which these two boxes are installed needs to have shutter with a glass window for general inspection on the meter reading.
How to Install an Electrical Panel Surge Protector?
The power surges are quite dangerous. They can hit your home by traveling down the power lines. A surge can also occur due to a spike in an application in your home.
You can have peace of mind and offer adequate protection to your expensive electronics by installing a whole house surge protector.
Tools
You will require some electrical tools for installing the surge protectors. These include
- Flathead screwdriver and screws
- Pliers
- Wire strippers
- Electrical tape
- Hammer
- Nails
- Flashlight
- Voltage detector
- Cordless power drill
Useful Read 10 Best Tool Set For Homeowner Reviews
Installation Procedure
The installation procedure of mounting the surge protector on the main panel box is:
- Turn off the main power
- Turn off the main switch outside of the electrical box.
- This will turn off the breakers and cut off the power of your house.
- You need to turn the power off as the active panel can result in damage.
- When the boxes are no longer energized, unscrew the panel door.
- You can use a voltage detector to know that the power has topped and when it’s safe to remove the panel.
- Avoid touching wires that are not needed to connecting the usage protector as there might be live wires with power flow.
Mount the Surge Protector
- On the side of the panel, you will see some small circular areas.
- Knock out a hole in order to create the surge protector wires openings.
- Feed the surge protector wires through this opening.
- Then guide these wires to the front panel.
- Secure the protector module in the wall by drilling screws.
- There will be different mounting directions for different models.
- You can check out the manufacturer instructions for more details.
- Mounting the surge protector outside will let you easily monitor the performance of the surge protector without opening the panel.
Finishing Installing the Surge Protector
You need to connect four wires within the panels for finishing the installation.
- The green wire is ground
- The white wire is neutral
- The two black wires
Stripping the Surge Protector Wires
- Strip off the coating of the wire ends to connect them. You can use stripper for doing so.
- Connect the green wire to the right-sided ground bus bar.
- Then connect the neutral white wire to the neutral bar present on the right side.
- Connect the two black wires to the dipole circuit breaker and then mount it nearer to the power wires.
Replacing the Panel Cover
After connecting the wires, replace the cover of the panel.
Flip the diploe breaker switch connected to the two black wires. See the digital display on the surge protector to check if its working or not.
Types of Electrical Panel Boards
The types of electrical panels used in homes include
- Main breaker panel
- Fuse boxes
- Main panels
- Subpanels
- Transfer switches (manual and automatic)
Summary
Avoid installing the electrical panel board yourself if you are not an expert as its a bit dangerous work. Moreover, some communities and building codes might not allow you to do this as most often, it requires the coordination with electrical utility companies.
Altogether, the tips on how to install an electrical panel board will be much beneficial for you and your safety.
Also check out the all in one tool kit buying guide.
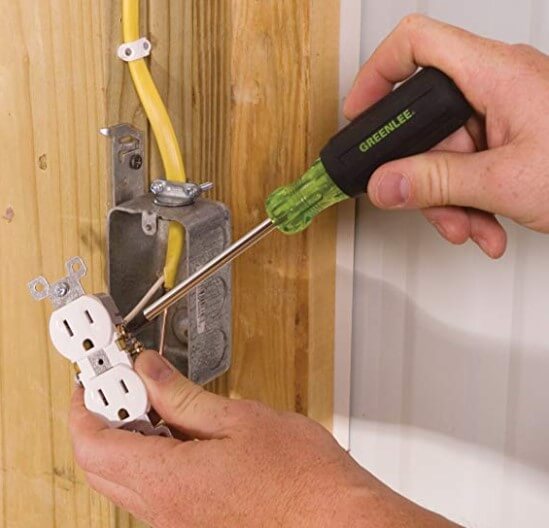 Electrical work requires some tools. The electricians have to install, maintain, inspect, and diagnose electrical appliances and systems. Without the correct tools, you won’t be able to complete your electrical repair work easily and can hurt yourself too.
 Without a jigsaw, you won’t be able to make good quality cuts on various materials. The angled cuts will be a much difficult task for you.
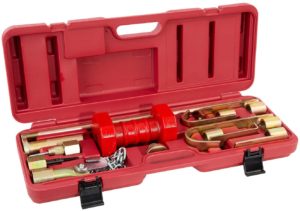
 There’s nothing as devastating as seeing your darling car sporting a ghastly dent. Small or big, the indented area will make even the prettiest of vehicles look like an ugly duckling.